Sunday, December 18, 2011

Lots of Canes

 I started out trying to make new borders for my canes and ended up making a variety of canes to use in more complicated canes.

This is the first border cane I made.


I used it to make this pin


and I used it on the larger hearts and then used the scraps for the smaller heart beads. 


 Small canes from the border cane and end pieces


Corkscrew with border cane


More corkscrew canes and a Skinner blend bullseye cane


Border cane in green and black. This is my favorite, I like green and black together especially this olive green.


                                         Complimentary canes to use with the border cane


                                        Close up of flower cane and corkscrew canes.


                                         Pendants I made with end pieces and scraps.


I have beads in the oven, maybe I'll take photos tomorrow. I am suppose to be baking Christmas cookies and my muse wants to make canes... guess who won!

That's it for today.

Thanks for stopping by.

Saturday, December 10, 2011

Polymer Clay Art Nouveau Canes & Hearts


I have always been a fan of Art Deco and Art Nouveau designs so I decided to try my hand at Art Nouveau canes

I haven't worked with Kato clay for awhile... I had forgotten how time consuming it is to condition, especially the older formula... lots of hammering and swearing was involved.  I tucked one hunk of particularly hard blue clay inside my bra to warm it up while I conditioned the other colors.  I then spent 20 minutes trying to find where I put the blue clay.....

Here are the canes.  Click on the photos for a closer look.


                                                  Not crazy about this one... it's okay


This is one of my favorites. 

This one is pretty cool too. 

I like this one. 


Another set of Art Nouveau Cane


                                                          Least favorite of this set


I love this one!


Another favorite

This one will make fun beads. 


If you are wondering where the blue is, I mixed it with green and black to get the dark green... of course I didn't record the formula, I always forget to write things down.... I just mix colors together until I come up with a color I like.


I used the cane ends and scrap pieces to make hearts. These haven't been sanded or buffed yet.... my dremel died. I'm hoping Santa will bring me a new one.


I'm making more canes but I have to spend the next few days "wrapping" my gift for this years gift wrap challenge.  I want to get it out of the way so I can stop fretting about it. I'm thinking this challenge is going to a good one... several folks claim to have the winning gift.

Thats it for now.

Thanks for stopping by.

Please feel free to ask questions or leave a comment, I love hearing from you.


Saturday, December 3, 2011

More Mixed Media "Circles"

Staying with the "Circles" theme I made a few more pieces.

Click on the photos for a closer look.


The first one is a work-in-progress, I haven't decided which end is up or how I want to use it....

which do you like best.... this way?


or this way?


This pendant/pin is very similar to the  first one I showed you a couple weeks ago.  I made this one for a friend.


I used a different method for this one.   When I made the first "circles" pendant I stamped the design on the raw clay.  This time I cured the tile first then stamped the design, re-cured, added a thin layer of Kato liquid clay, cured  for an additional 30 minutes and then hit  it with a heat gun to clear the liquid clay. The stamped design is brighter on this one.  This method is more time consuming but I like the end result.


I gave this one a layered look and stamped it with silver ink. I used 18 gauge amber wire woven with 28 gauge silver tone wire and adorned with carnelian beads.


a different angle


My family is getting ready for our annual gift wrapping challenge.  The excitement is building... soon to be grandson-in-law Cory is boasting he will be the winner this year.  We shall see!!  I never imagined when we started the challenge that it would become such a hit...

Thanks for stopping by.


Friday, November 18, 2011

New Coiled Wire Bail for Polymer Clay Tiles

First I am happy to report the little bird was safely rescued. Heather helped me open the BIG window and with very little fanfare we were able to shoo the little guy on his way.  Amazing how much easier it was without the cats in hot pursuit.

Here is a photo of the the birdie perched atop a framed fashion print. (My clay room use to be my sewing room.)


Then he flew over to a basket sitting on top of a cabinet in the corner.  He stayed up there until we got the window open then, with a little coaxing from Heather standing on a chair, he flew down to the open window and made his way to freedom.


Okay here is my New Coiled Wire Bail.  I was thinking about ways I could attach polymer clay tiles to the ball chain when it occurred to me

 Click on the photos for a closer look.

First I tried it with 3 polymer clay tiles.


That went well so I tried it with 5 tiles.  This is how it looks before I added the chain.


Now with the chain.


This is the back side... so it will work for reversible tiles too.


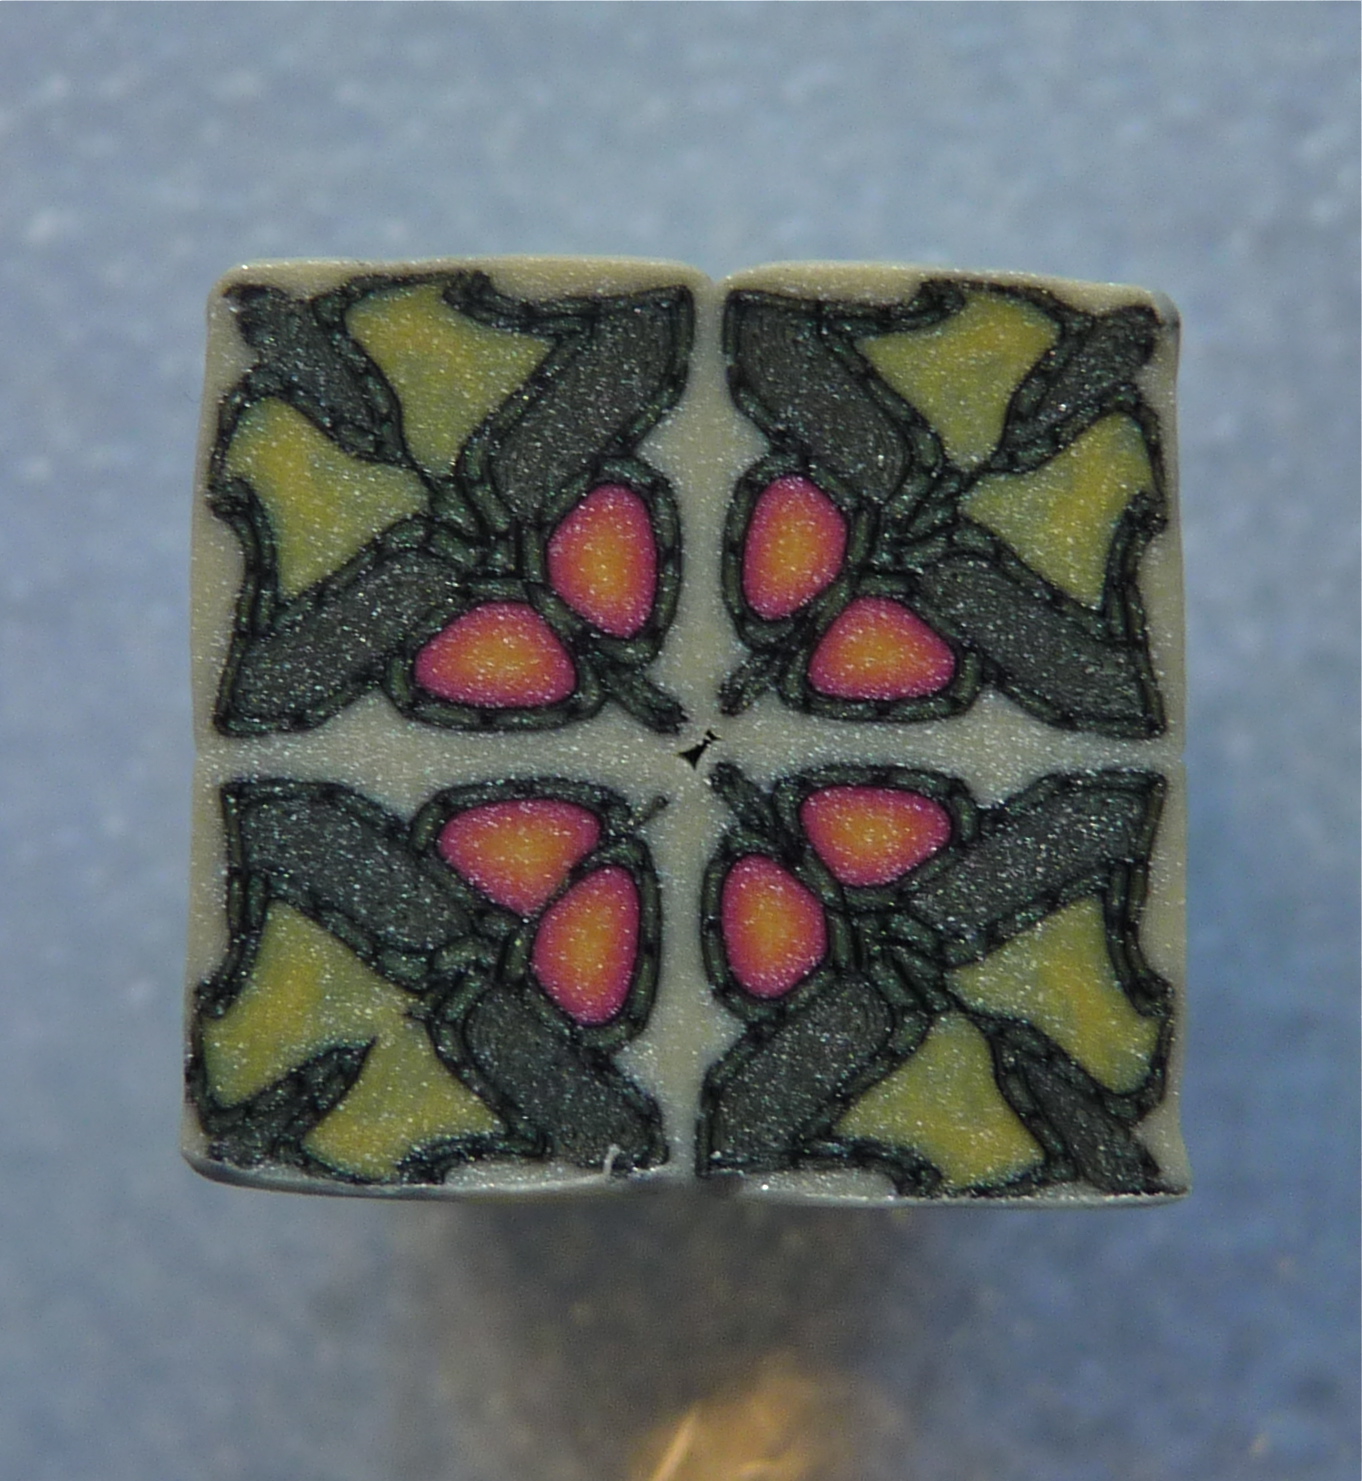
I  made these tiles years ago. I always meant to use them on a bracelet but I like the way they look as a necklace.


I made these tiles years ago too.... for a pendant and earrings.... I added a couple tube beads and made a necklace instead.


I wanted to see how the coiled bail would work on oval beads. I got a little carried away with this one.... kept adding beads and doodads.... I'm not crazy about the black beads in the center....  may have to take it apart and start over.  Here it is before the chain.  The color is off, I always have trouble with purple...they look blue, they are not blue, trust me they are purple.


Here is with the chain.


I hope to make a bracelet by using the coiled bails on both sides of the tiles.... I'll let you know how it turns out.

Thanks for stopping by.

Tuesday, November 15, 2011

Pendants... lots of Pendants

I have several boxes filled with pendants that I want to list in our Etsy shop. I was going to list them without chains but I found a shop on Etsy that sells inexpensive chains, chokers and organza ribbons that go well with the pendants.  The new owners can use them as is or discard the cords and add their own chains.

I spend Sunday evening putting the pendants on the chains and cords.

I ended up with a box full..... over 50 necklaces so far...

Click on the photos for a closer look.


Here are the ones on the Organza cords. They have cheapy looking lobster claw clasps and extender chains but the cords look nice.  I considered changing the clasps but then thought better of it... the new owners can change them if they want.


These are strung on colorful memory wire chokers with screw type closures. I wish the closures were more attractive but they seem to function okay and the price was right.


.............and the remaining pendants are strung on colored ball chains.


I still have more to go....

but first I have to get another bird out of the house..... right now it is isolated in my clay room.  I am waiting for Heather to come help open the window.... it's a BIG window and I can't open it by myself.  Fortunately I discovered the bird before the cats this time and was able to exile the blood thirsty felines to the upper regions of the house. Needless to say they are not happy!!  I cannot for the life of me figure out how the sneaky little birds keep getting in... tis a mystery!!

Wish me luck.

Thanks for stopping by.